The reverse sear is the best method for cooking a thick steak. Not the most popular — the most effective. Once you understand why it works, you’ll never go back to the traditional sear-first approach for anything over an inch thick.
Here’s the complete guide — what it is, why it works, and exactly how to do it.
What Is the Reverse Sear
The traditional method for cooking a steak is sear first, finish in the oven or over indirect heat. The reverse sear flips that completely — you cook low and slow first, then sear at the very end.
Instead of starting with a screaming hot pan or grill, you start the steak in a low-temperature environment — a smoker, grill set up for indirect heat, or a low oven — and bring it up to just below your target internal temperature slowly. Then you finish with the hottest sear you can manage.
Why It’s Better Than Traditional Searing
The problem with searing first is the temperature gradient it creates inside the steak. When you put a cold steak on a hot surface, the outside heats up fast and the inside heats up slowly. By the time the centre reaches medium-rare, a significant band of meat around the outside is already overcooked — grey and dry rather than pink and juicy.
The reverse sear eliminates this completely. The slow, low-temperature cook brings the entire steak to an even temperature throughout — edge to edge. When you sear at the end, you’re just adding crust to meat that’s already perfectly cooked inside. The result is:
- A thicker, more even pink interior with virtually no grey band
- A better crust — the surface of the steak is drier after the low cook, which means the sear is faster and more aggressive
- More control — you can hold the steak at temperature for up to 30 minutes before searing without any quality loss
- Consistently perfect results every time
What Steaks Work Best
The reverse sear is designed for thick steaks — 1.5 inches or more. Thinner steaks cook through too quickly during the low phase and don’t benefit from the technique.
Best cuts for reverse sear:
- Ribeye — the classic choice. Fat cap, marbling, and thickness make it ideal.
- Tomahawk — an oversized ribeye with the long rib bone. The reverse sear is essentially mandatory for a cut this thick.
- T-bone and Porterhouse — two muscles in one, the reverse sear handles the different thicknesses well.
- New York strip — leaner than ribeye but works very well.
- Filet mignon — very thick cuts only, 2 inches plus.

Step 1 — Season the Steak
Season generously with kosher salt and coarse black pepper on all sides including the edges. For the best result, season the steak and leave it uncovered in the fridge for at least 1 hour — overnight is even better. The surface dries out, which contributes to a better crust during the final sear.
Pull the steak from the fridge 30 minutes before cooking to take the chill off slightly.
Step 2 — The Low and Slow Phase
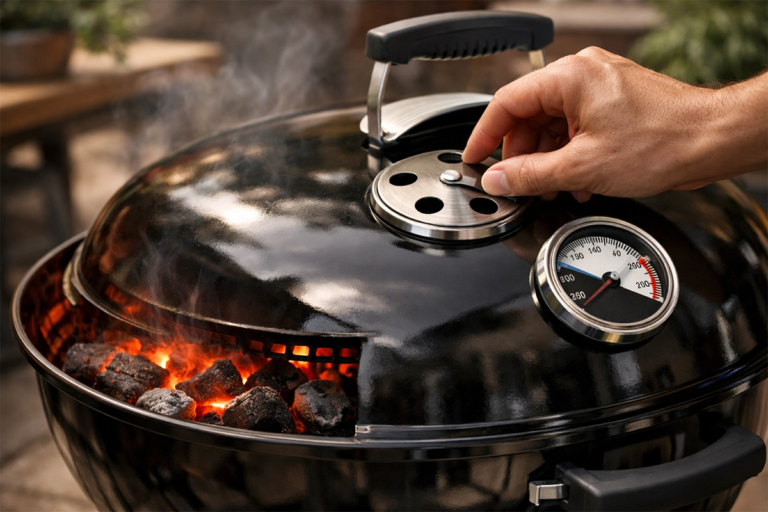
Set up your grill or smoker for indirect cooking at 225–250°F. If you’re using a pellet grill, set it to 225°F. If you’re using a charcoal grill, set up a two-zone fire and place the steak on the cool side with the lid on.
Place the steak on the indirect heat side and insert a probe thermometer into the thickest part. You’re cooking it to 10 to 15°F below your target final temperature:
- Rare (125°F final) — pull at 110–115°F
- Medium-rare (130–135°F final) — pull at 115–120°F
- Medium (140–145°F final) — pull at 125–130°F
For a 1.5 inch ribeye this phase takes approximately 25 to 45 minutes at 225°F. Thicker steaks take longer — a 2.5 inch tomahawk can take 60 to 90 minutes.
If you’re using a smoker, add a small amount of mild wood — cherry or oak — for a light smoke flavour on the steak. This is a bonus the reverse sear method delivers that traditional pan searing simply can’t.
Step 3 — Rest Before the Sear
When the steak hits your pull temperature, take it off the grill and rest it uncovered for 10 minutes. This step is different to the post-sear rest — you’re resting before the sear to let the surface moisture evaporate further. A drier surface means a faster, more aggressive Maillard reaction when it hits the hot grill.
Pat the surface dry with a paper towel just before searing.
Step 4 — The Sear
This is where you need maximum heat. Get your searing surface as hot as it will go:
- Charcoal grill: Move the steak directly over the hot coals. The coals should be glowing bright orange.
- Pellet grill with sear station: Use the direct flame access if available. Otherwise crank to maximum temp.
- Gas grill: Burners on maximum, lid open, preheat for 10 minutes minimum.
- Cast iron skillet: Heat over high flame until the pan is smoking. Add a high smoke-point oil — avocado or grapeseed.
Sear the steak for 45 to 90 seconds per side — that’s all you need. Because the interior is already at temperature, you’re only building the crust. Flip only once. Sear the edges too by holding the steak on its side with tongs for 30 seconds each edge.

Step 5 — Butter Baste and Rest
In the last 30 seconds of searing, add a knob of butter, a crushed garlic clove, and a sprig of thyme or rosemary to the pan or directly onto the steak. Tilt the pan and spoon the foaming butter over the steak continuously — this is called basting and it adds an incredible richness and depth to the crust.
Pull the steak and rest for 5 minutes. The reverse sear requires a shorter post-sear rest than traditional methods because the interior temperature is already stable and even. Five minutes is sufficient.
Temperature Guide
| Doneness | Pull Temp (low phase) | Final Temp After Sear |
|---|---|---|
| Rare | 110–115°F | 120–125°F |
| Medium-rare | 115–120°F | 130–135°F |
| Medium | 125–130°F | 140–145°F |
| Medium-well | 135–140°F | 150–155°F |
Quick Reference
| Step | Detail |
|---|---|
| Season | Salt and pepper, uncovered in fridge 1 hour minimum |
| Low phase temp | 225–250°F indirect heat |
| Pull temp | 10–15°F below target final temp |
| Rest before sear | 10 minutes uncovered, pat dry |
| Sear heat | Maximum possible — 500°F+ |
| Sear time | 45–90 seconds per side only |
| Rest after sear | 5 minutes |
Final Tips
Use a good thermometer. The reverse sear lives and dies by accurate temperature readings. A cheap thermometer with a slow read will cost you a perfectly cooked steak. The ThermoWorks Thermapen One is the gold standard — one-second reads with ±0.5°F accuracy.
Thick steaks only. Don’t reverse sear a 1 inch steak — it’ll overcook during the low phase before you ever get to sear it. Save this method for anything 1.5 inches and above.
The smoke bonus. One of the hidden advantages of reverse searing on a grill or smoker rather than in an oven is that you can add a small amount of wood smoke during the low phase. Cherry or oak on a ribeye during a 40-minute reverse sear adds a subtle smokiness that elevates the steak significantly without being overwhelming.
Looking for the right grill or smoker to master the reverse sear? Check out our full BBQ products guide or our Z Grills review hub for pellet grill options that handle both low-and-slow and high-heat cooking in one unit.